
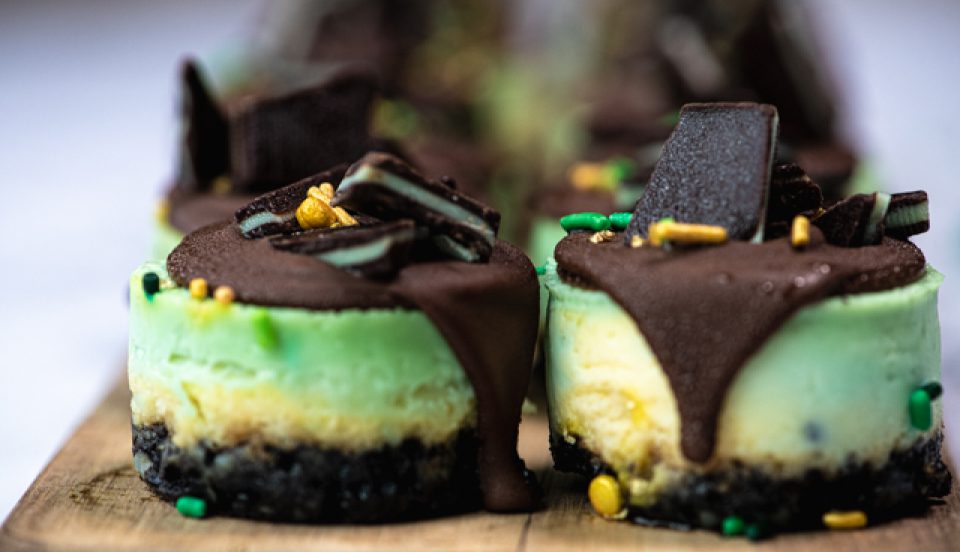
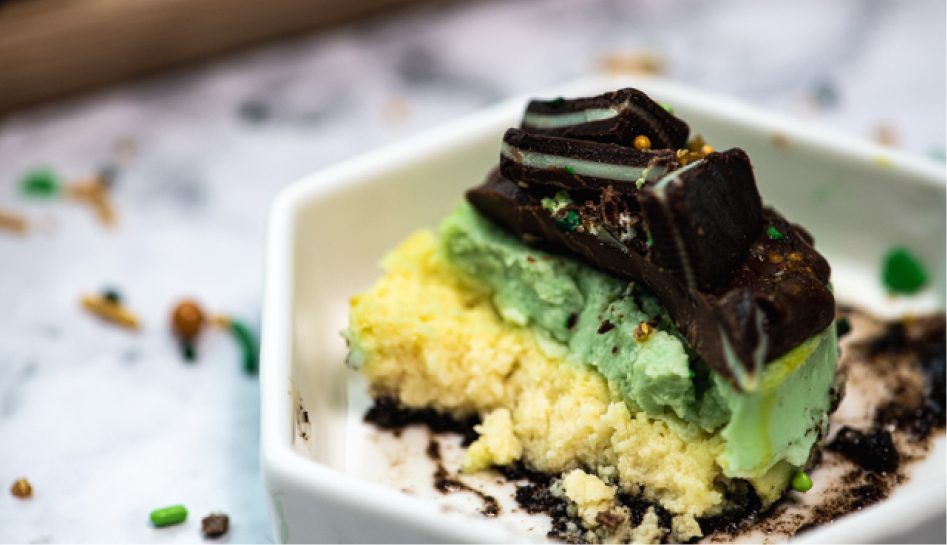


Mini Andes Mint Cheesecakes
servings: 12 mini cheesecakes
If you love this recipe as much as we do, let us know with a 5-star rating!
PRINT RECIPE RATE RECIPE PIN RECIPEIngredients
Oreo Crust
- 1 cup Mint Oreos, (about 12 pieces)
- 3 tablespoon granulated sugar
- 3½ tablespoons salted butter, melted
Mini Cheesecakes
- 16 ounces Brick-style full fat cream cheese, at room temperature
- ⅓ cup full-fat sour cream, at room temperature
- ½ cup granulated sugar
Mint Panna Cotta
- 1 envelope unflavored gelatin, about 1 tablespoon
- 2 tablespoons cold water
- 2 cups heavy cream
- 1 cup half and half
- ⅓ cup sugar
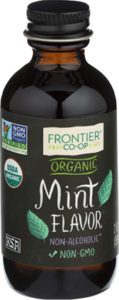
- 2 teaspoons mint extract
- 2 drops of green gel food coloring
Toppings
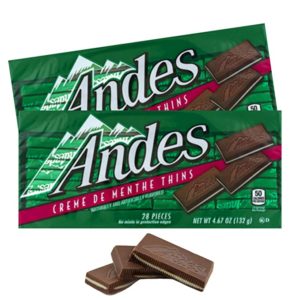
- 1 sleeve Andes Mints
- 1 bag melting chocolate
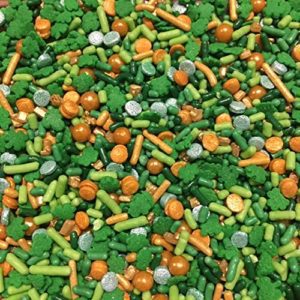
- Sprinkles of your choice
Instructions
For Mint Oreo Crust
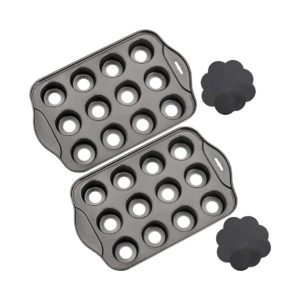
- Preheat the oven to 325°F (163°C) and prepare a 12-count cupcake pan or mini cheesecake pan with removable bottoms.
- Crush Mint Oreos in a food processor.
- Mix the Oreo crumbs and sugar in a large mixing bowl.
- Pour melted butter into the mixture and stir until all the crumbs are coated.
- Divide the mixture equally among the liners and press it down firmly.
- Bake for 5 minutes at 325°F, then set it aside to cool.
For Cheesecake Filling
- Using a stand mixer or electric mixer, beat cream cheese and sour cream until smooth.
- Add sugar and vanilla extract and mix well.
- Add eggs one at a time and mix until combined. Do not overman.
- Pour the batter into the liners, filling 3/4 full.
- Bake at 325°F for 17-20 minutes, or until set on top.
- Let it cool in the pan for an hour.
For Panna Cotta
- Bloom gelatin in cold water. In a small mixing bowl, pour water and then sprinkle a single layer of gelatin over the surface. Avoid creating any mounds as this can hinder the crystals from dissolving properly. Allow the mixture to sit for 5 to 10 minutes to soften.
- Heat cream, sugar, green gel food coloring, and mint extract in a saucepan on medium heat. Heat the mixture just until it comes to a boil and the sugar dissolves. Remove the pan from heat.
- Add the gelatin to the saucepan and whisk immediately until it is smooth and fully dissolved. If the gelatin hasn't fully dissolved, return the pan to low heat and gently heat while stirring constantly. Make sure not to let the mixture boil.
- Pour the mixture into the liners, filling to the top.
- Refrigerate for a few hours.
To Serve
- Chop up Andes mints into small pieces.
- Melt chocolate in a small microwavable bowl in 30-second intervals on 30% power until smooth.
- Spoon chocolate over each individual cheesecake and top with Andes Mints and Sprinkles.
Did you make this Recipe?If you love this recipe as much as we do, be sure to leave a review or share it on Instagram and tag @the.flavor.vault - we can’t wait to see what you’ve made!