


Easy Almost Homemade Cake Pops
servings: 24 cake pops
If you love this recipe as much as we do, let us know with a 5-star rating!
PRINT RECIPE RATE RECIPE PIN RECIPEIngredients
- 15 ounces box white cake mix, cook according to package directions in a 9×13" pan
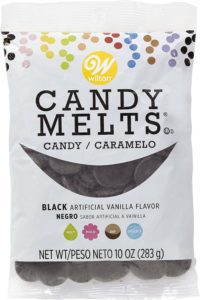
- 10 ounces bag melting chocolate
- 16 ounces container frosting
- solid vegetable shortening or paramount crystals
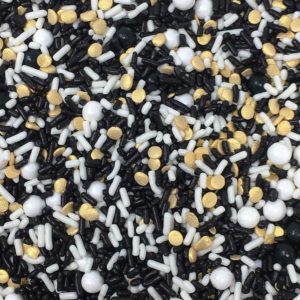
- sprinkles/nonpariels for decorating
- 24 cake pop sticks
Instructions
- Follow the instructions on the cake mix box for a 9-by-13-inch pan. Let the cake cool completely.
- Break the cooled cake into pieces and place them in a food processor until they are fine crumbles.
- Add 1 cup frosting to the food processor with the cake pieces and blend until the mixture forms a ball that separates from the sides of the bowl (about 30 seconds).
- Use a medium cookie scoop to scoop out portions of the cake mixture. Roll them into balls and place them on a plate.
- Place the cake balls in the freezer for about 10 minutes to firm up.
- In microwave-safe bowls, melt the candy melts for 1-minute on 50% power, then 30 second intervals at 50% power until smooth. Add vegetable shortening or paramount crystals for extra smoothness if desired.
- Dip each cake ball into the melted chocolate, tapping off any excess.
- Decorate the cake pops with sprinkles or other edible decorations.
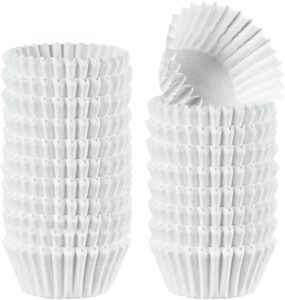
- Choose your storage method: a) Insert the cake pops into a Styrofoam block or a glass filled with rice for a neat display, or b) place them stick side up in mini muffin liners.
- Let the chocolate set for about an hour, and then your cake pops are ready to enjoy or share!
Did you make this Recipe?If you love this recipe as much as we do, be sure to leave a review or share it on Instagram and tag @the.flavor.vault - we can’t wait to see what you’ve made!